
A Complete Guide on How to Mount Your Netatmo Anemometer and Rain Gauge
Owning your new Netatmo anemometer and rain gauge can be overwhelming when you don’t know how to mount it. Fortunately, after so many trials and errors, we finally found the best way to mount it.
Here is a simple and easy guide to help you with the process:
1. Find a place to install your wind and rain gauge
Make sure to choose the most optimal space so that you can fully harness your unit’s function. It won’t make sense for a rain gauge to be placed in an area where it won’t catch the rain. The same goes for the anemometer. Remember, location is key.
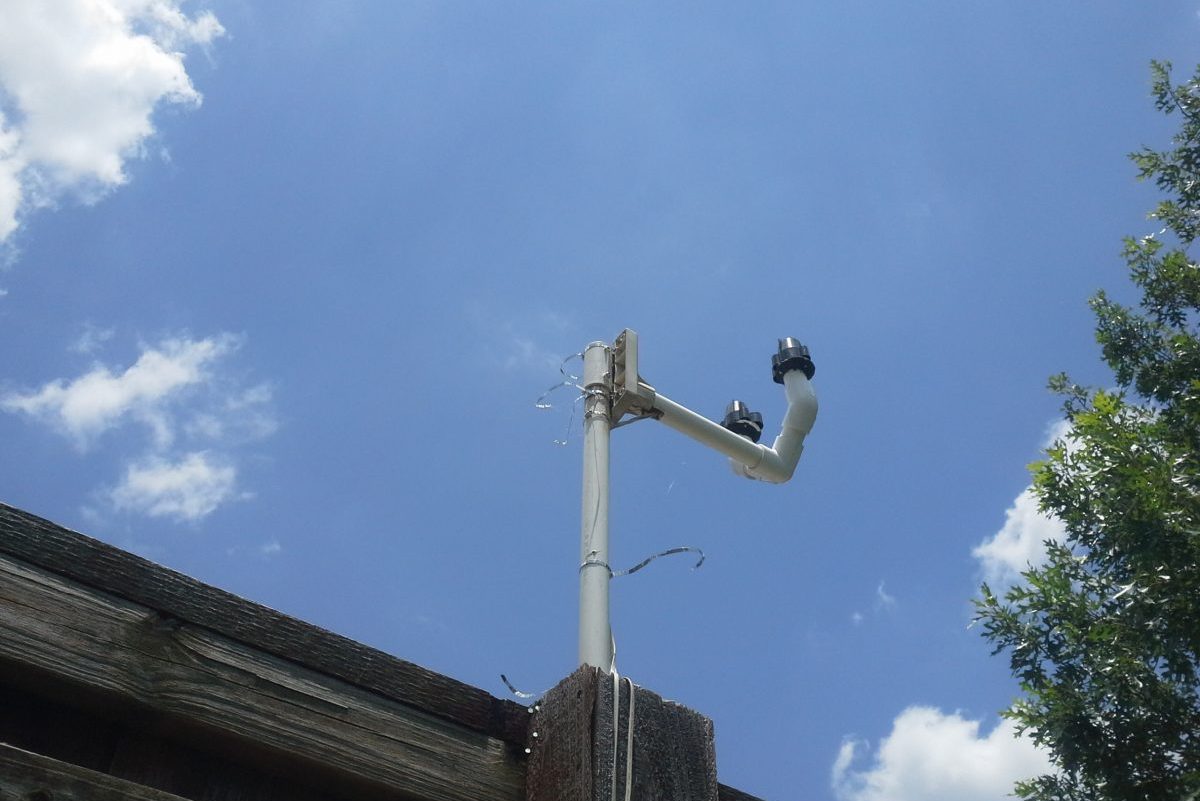
2. Install your wind and rain gauge according to its location
Our chosen area was a log store so we maximized the wood fence as the place for our devices. The wood offcuts became our improvised bracket and stand to mount our units. To stay in place, we used a bolt and screw at the bottom.
If your area is not like ours, maximize the resources and space that you have. There are many ways to mount your units. If the area is bare, then it’s better to create makeshift stands for each of your units.
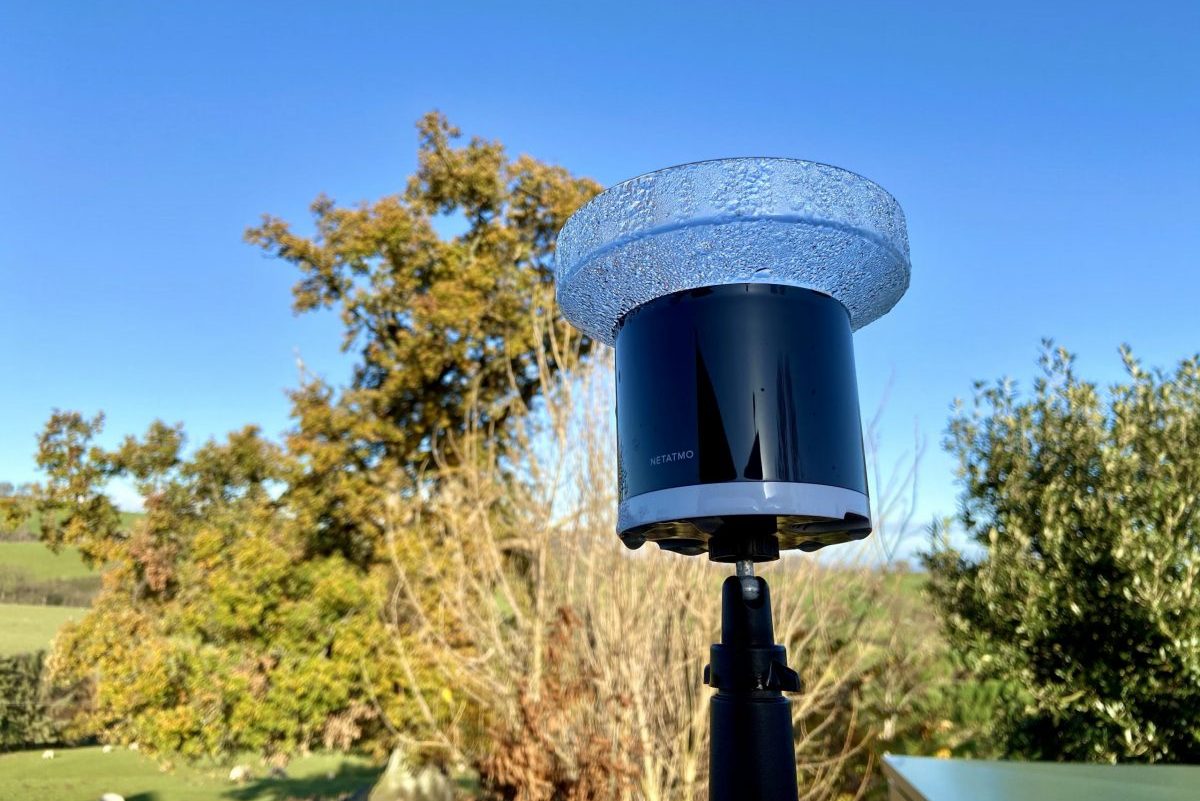
3. Use Netatmo’s mounting kits
When installing your Netatmo anemometer and rain gauge, you might face a few challenges like the improvised stand not looking great or has uneven surfaces. You can solve this problem by using Netatmo’s mounting kits for your units.
These are better than your makeshift brackets since they provide even surfaces. They are easy to manipulate and make your set-up look smart and suave. It may come with a hefty price but you will surely get what you paid for.
Conclusion
Having the right location and kits can help ease the process of installing your Netatmo anemometer and rain gauge. Hopefully, the tips above were able to guide you well in your experience.